 |
Nocrotec
FIP-Clock
Designed by Dieter
Wächter
last update (and
finished): July-04-2006
 |
Back
to Dieter's Nixie Tube Page
Email
to Dieter
This clock-project only was possible after a
very long search for the mega-rare FIP60B30T displays made by
NEC in the early eighties.
Dated: 1980-1981
I have searched for years in Japan to get some of these wonderful tubes.
Finally I got 10 of them and I am sure that these were the only ones I will ever
get.
I really had much luck in this find!!!
 |
Display
Height: 35mm (1.38")
You will
find
all information about that tubes
here!!!
I've also
searched for the original datasheet, which I finally found in an old archive of
a NEC distributor in Japan.
So also this is a rarity:
Original datasheet for the
FIP60B30T (pdf)
Step 1: Designing the
schematic
After studying the datasheets and some tests on the display I made some test
circuits and finally came to this schematic:
As you can
see I used a NE555 timer and a self-made transformer for the 2.7VACRMS filament
voltage.
It runs with 30kHz and an efficiency of 61%.
As ever.... a MC34063A step-up converter for the +33VDC for the plate voltage.
The grid voltage and the +5VDC for the ATMEGA8515 controller I took out of 2
voltage regulators.
I used a HV574PG Supertex driver for the anode drive.
Finally the new Dallas RTC (DS1337C ) which has an on-board crystal (I like that
all-in-one chips)
Step 2: Designing the
board
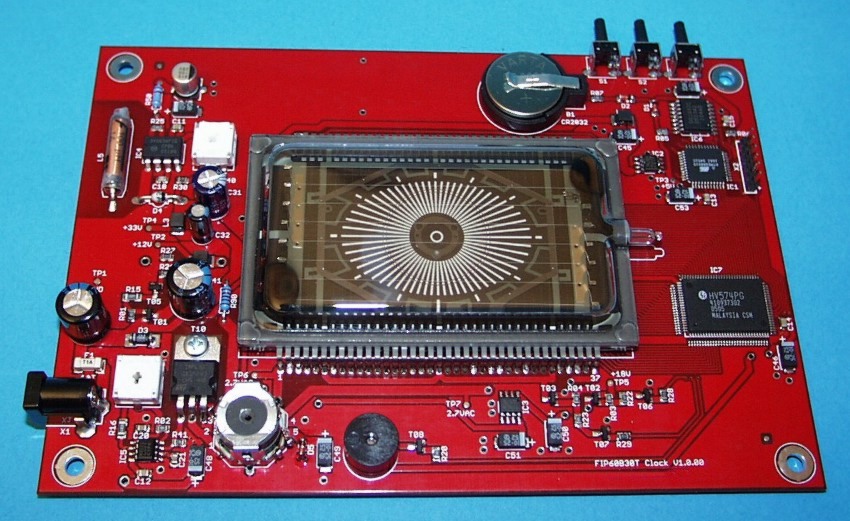
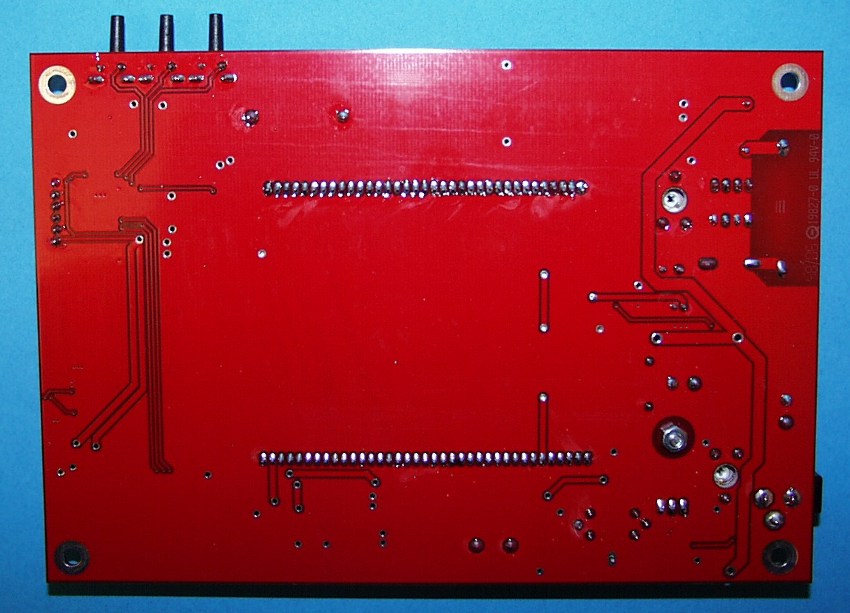
I had in mind to make a clock with a visible circuit board.
So I tried to put some kind of 'art' into the electronic.
I used a red solder resist.
This is the result:

The board measures: 173.5x119mm
Step 3: Assembling the
board
There were no difficulties with the schematic.
Everything worked fine, although it was the first prototype.


Step 4: Designing the
case
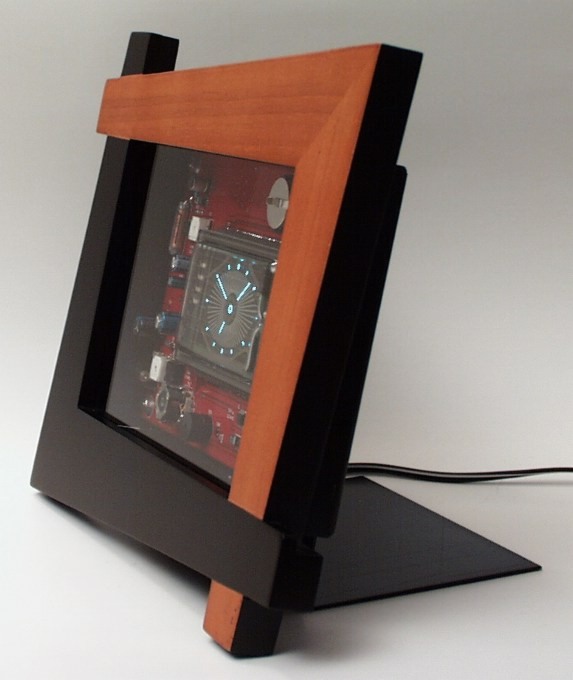
As I wrote before, I wanted to leave the board viewable.
I made some designs and came to this one (3D-animation only)
I planned
the clock to be set up as a desktop clock or a wall clock.
This example shows the clock set up as a desktop-clock.
The front frame should be made of wood and the back cover of black anodized
aluminium.
Here you see the result of the finished housing:


clock from the side:

clock from
the back:

FIP-Clock
from the front:


As I said, it's
also possible to hang the clock up on the wall:

Step 5: The coding
There are millions of possibilities to arrange the code.
So I hade to decide which features I wanted to have and which I had to leave
away to make the handling not too complex.
The features I put in:
|
This
Project is finished
Thanks for reading.
Back
to Dieter's Nixie Tube Page
eMail to Dieter
Impressum & Datenschutz